Torch eclipses:

Children used a torch to represent the sun. They used a small polystyrene ball for the moon and a larger one for the Earth. They investigated the shadows and talked about the differences between solar and lunar eclipses.

Some children experimented with shining torches on the Earth and moon to create eclipses. Some tried shining them towards the ceiling and looked at the effect.
Solar Cooking with an easy Solar Cooker design.

First we put a bucket on the sand. We put a rock inside to stop it tipping. Then we wrapped the reflective sunscreen around into a parabolic shape and placed a cake rack on top.
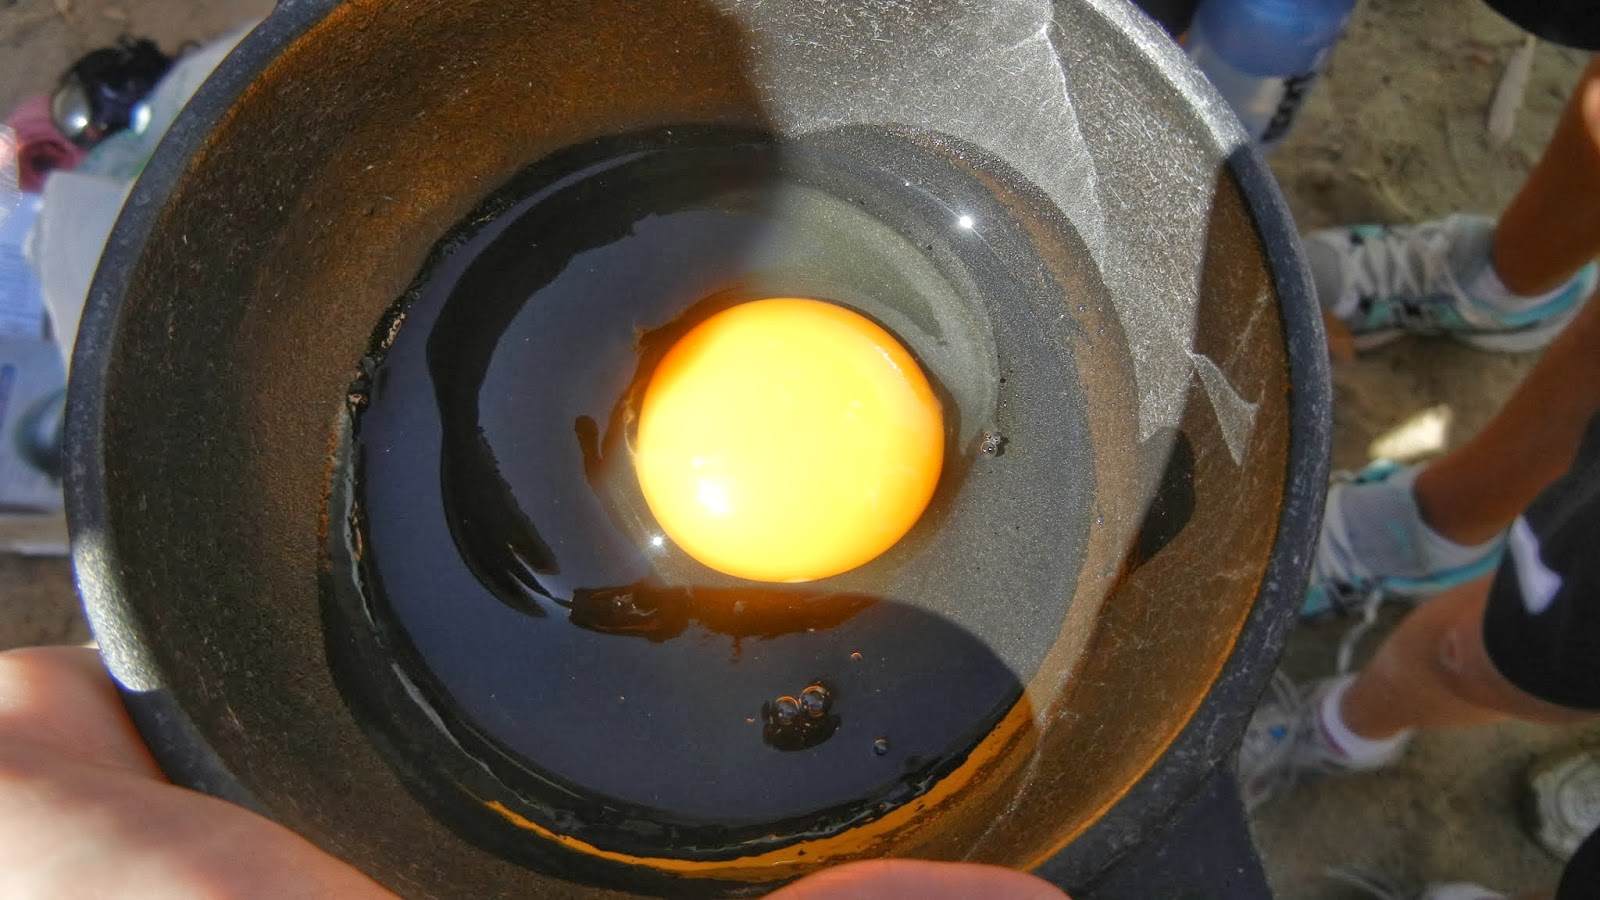
Next we put a raw egg inside a black pot with a tight fitting black lid.


We pegged the end of the bag to trap the heat, and used some sticks to prop up the sunshade so it wouldn't collapse in the wind.

We checked it after a couple of hours and moved it out of the path of any shadows, as well as placing it in the best position to have the sun reflect on the pot.

After about 3 ½ hours, we took the lid off (using a cloth) to see if our egg had cooked.


We had lots of fun learning about solar cooking!
This is a great website about solar cooking. Follow this link: http://www.solarcookers.org/basics/how.html
Here is another one:
http://solarcooking.wikia.com/wiki/Windshield_Shade_Solar_Cooker
We also linked it to English by doing a Procedure Text.
This is a great website about solar cooking. Follow this link: http://www.solarcookers.org/basics/how.html
Here is another one:
http://solarcooking.wikia.com/wiki/Windshield_Shade_Solar_Cooker
We also linked it to English by doing a Procedure Text.

Swirls of Colour

SOLAR SYSTEMS
We have been experimenting with making our Solar Systems. Children had to represent how they thought the Sun, moon and Earth moved in relation to each other and make a model. This is a lesson from the Primary Connections Science course which links to the Australian Curriculum.
We also had an interesting diversion, when some children discovered some amazing sounds they could make with the polystyrene balls and wood skewers. They rubbed the sticks between their hands and as the balls moved down the stick, the pitch of the sound lowered. They experimented with the positioning of the stick and tried it at different angles to see what would happen. They also noticed the heat in their hands as they rubbed the sticks, which brought up discussions about friction. They decided to make a musical video of the results for fun!
Here are a few pictures of the initial stages of making their Solar Systems:


Students were presented with 3 possible claims and they had to represent what they thought was the correct claim, and say why.
Claim 1: The Moon and the Sun both circle the Earth.
Claim 2: The Moon circles the Earth while the Sun circles them both.
Claim 3: The Moon circles the Earth while the Earth circles the Sun.
Most students were unsure about how the Sun, Moon and Earth move. Here are some of their ideas showing how they think the Sun, Earth and Moon move in relation to each other.
Some chose the correct claim, but others did not. Many were able to make the Moon circle the Earth, but were unsure whether the moon itself spins around as it circles the Earth. They still have lots of investigation to do.
.JPG)
.JPG)
These children thought that the sun and the moon circled the Earth. It is interesting the sizes they picked for the moon and Earth.
.JPG)
.JPG)
.JPG)
.JPG)
.JPG)
This group cut a hole in the top of the box and attached their Sun, Earth and moon to a paper plate with sticks. This helped them to move the objects around in the box.
.JPG)
.JPG)
These children tried using magnets to help move the Earth and Moon.
.JPG)
.JPG)
Using a torch and Oreo biscuits to investige the moon phases:

.JPG)
.JPG)
These children noticed the shadow on the 'Earth" when the moon was positioned between the sun and the Earth. Some have heard of the term 'solar eclipse'.
Special thanks to Courtney for her work in this unit.
DESERT PLANTS AND ANIMALS
In Science, we are investigating plants and animals and how they adapt to desert conditions.
We put some leaves in a bag to see what would happen. We had an empty bag as well.
When we left them in the classroom, not much happened. Then we put them out in the sun for an hour and noticed quite a difference!
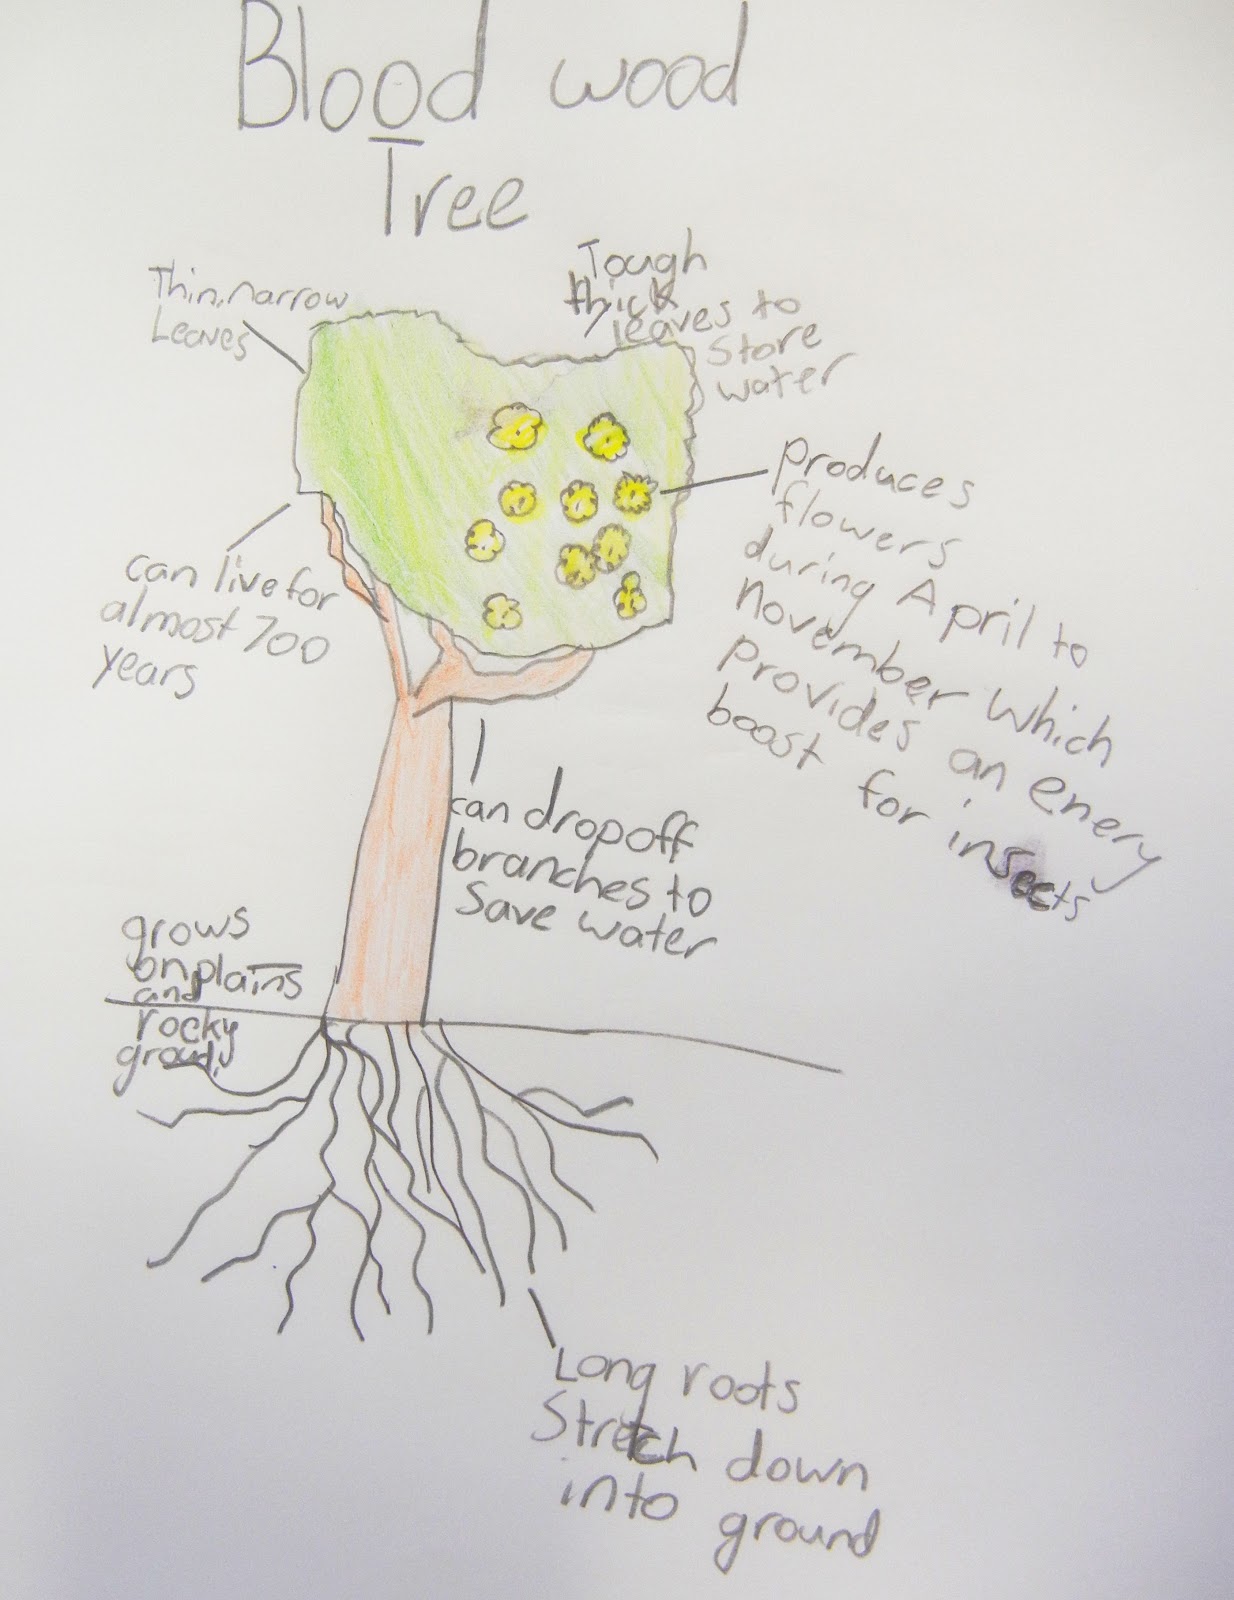
Children predicted, gave reasons, observed and explained their results in tables and with the use of annotated diagrams.
They wrote a summary of some adaptations that desert plants have, such as smaller leaves, the ability to close stomata in the heat in order to minimise water loss, and smaller leaves, etc. Some children kept the leaves for a few days to see what would happen then.
Our experiment in progress:


No comments:
Post a Comment